Table of Contents
How to install Gastcoin Gateway
Installing and configuring Gastcoin Gateway is very simple and will only take a few minutes.
Step 1
Click on "Plugins" > "Add New"
In your WordPress administration panel (/wp-admin), in the left hand options column scroll down to “Plugins” and click on “Add New”.
Step 2
Search and install
In the search box type “Gastcoin” and click “Install Now” on Gastcoin Gateway.
Step 3
Active and ready
Finally activate the plugin by clicking on the “Activate” button and the installation will be successfully completed.
How to activate Gastcoin Gateway
Activate Gastcoin Gateway is the final step.
Step 5
WooComemrce settings
Go to “WooCommerce > Setting > Payments” to activate Gastcoin Gateway.
Gastcoin Gateway Payment
Go to “WooCommerce > Setting > Payments > Gastcoin Gatewat Manage”…
Enable Gastcoin Gateway
Title
Add the title you want to appear on your ecommerce.
Description
Add the description you want to appear on your ecommerce.
Account address
Add your wallet address. Must be compatible with BEP-20 or ERC-20.
Save changes
Finally activate the plugin by clicking on the “Save changes” button and the installation will be successfully completed.
How to configure Gastcoin Gateway
Setting up Gastcoin Gateway is easy and fast.
Step 4
Gastcoin Gateway settings
Once installed, go to Gastcoin Gateway in the left sidebar of your admin panel.
Conversion USD 1
USDT and BUSD are two stablecoins pegged to the USD (US dollar) with a value of 1 to 1. If your ecommerce has prices in USD, you should leave this value at “1”. If your ecommerce has prices in another currency, you must indicate the conversion value here.
* This option will be automatic in future updates.
Video tutorial:
Redirect URL for payment
Recommendation: Use this option if…
- you have consciously customised the WooCommerce “thank you” page;
- you have installed a plugin that has modified the WooCommerce “thank you” page;
- you are not sure if the WooCommerce “thank you” page has been modified;
- there is no “choose token” option to pay when you do your first test with Gastcoin Gateway;
- if you want to have your own custom cryptocurrency payment page.
Video tutorial:
Final step: Active in WooCommerce
Next click on the link or go to “WooCommerce > Setting > Payments” to activate Gastcoin Gateway.
How to add custom BEP-20 and ERC-20 token
You can add any token from the BEP-20 and ERC-20 network. For example, Dogecoin (DOGE) is a cryptocurrency within its own blockchain, but has a wrapped Dogecoin in a Binance smart chain. Basically it’s value will be same as regular Dogecoin.


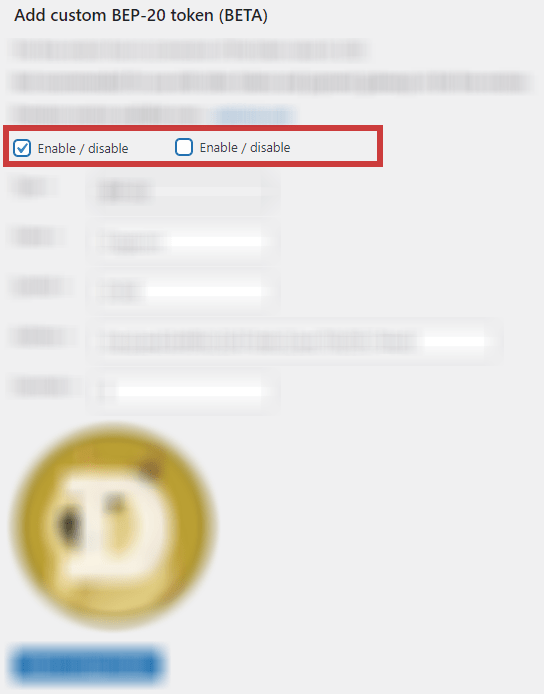
Enable / disable
Activate its use or deactivate it for disuse.
Caution: Until we activate the Premium Plan and automatic conversions (coming soon), if you add a custom token, then USDT, BUSD and GAST are automatically disabled.
The free version has no conversion of the token value to USD.
Not recommended for use with other tokens and payment gateways in the free version.
Premium version available soon.
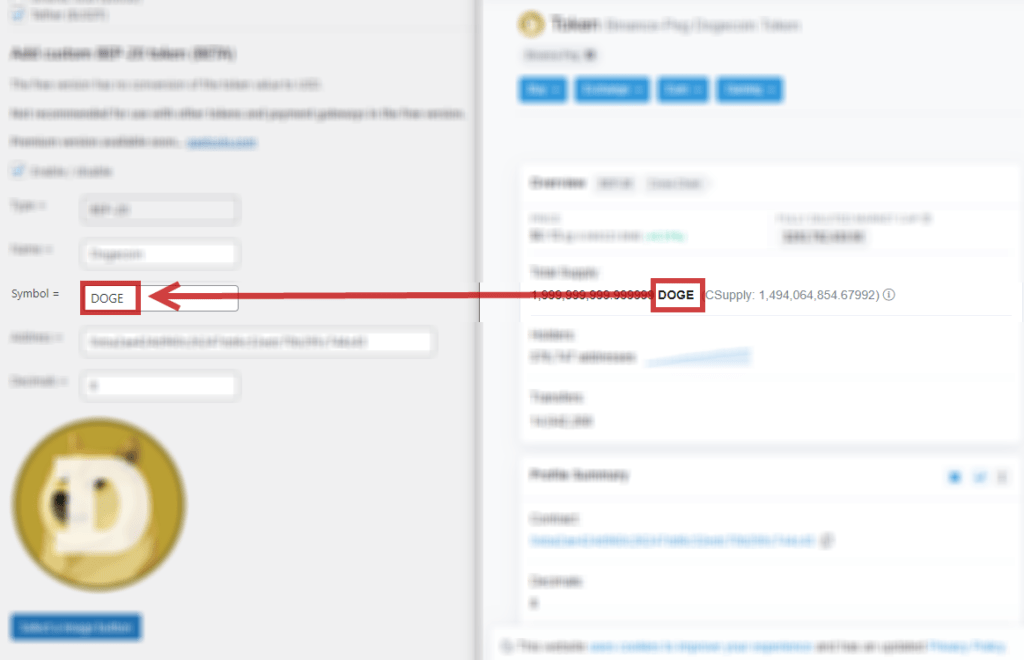
Go to https://bscscan.com/ and search for the token you wish to add (example Dogecoin)


Name
Add token name
Symbol
Add token symbol


Address
Add contract address
Decimals
Add number of decimals


Image
Select token image

